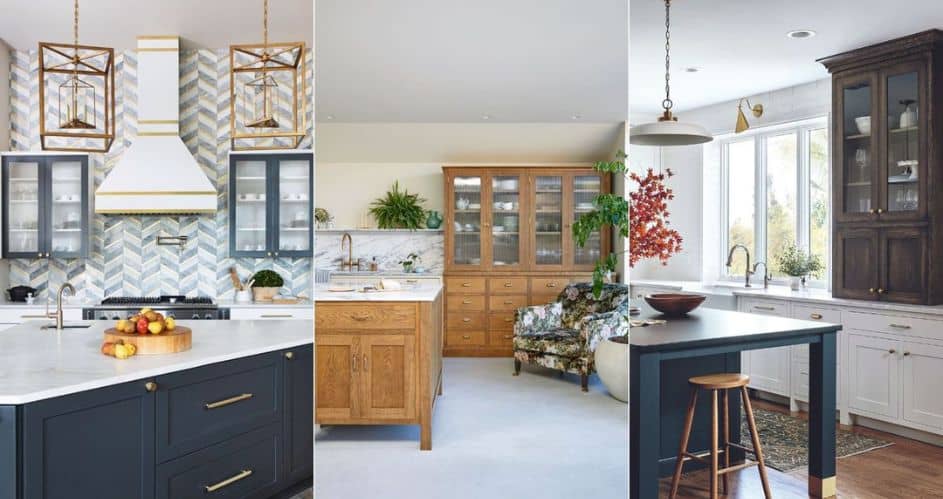
Brass mixers are increasingly becoming a standout feature in kitchen decor. Their elegant and practical design transforms ordinary kitchens into sophisticated and stylish spaces.
Brass mixers offer aesthetic pleasure and durability, making them popular for those seeking to enhance their kitchen’s luxury. If you’re considering installing one for your kitchen sink, read on to learn how to do it.
Benefits Of Brass Mixers
For a touch of elegance in your kitchen, choose brass mixers. Their unique color and sheen bring a warm, inviting atmosphere, contrasting beautifully with different kitchen styles. The sturdiness of brass taps stands out. They resist corrosion and tarnishing, making your kitchen’s charm last longer.
These fixtures not only look luxurious but also offer practical benefits. Several brass alloys possess antimicrobial properties, contributing to a more hygienic kitchen environment. They age gracefully, developing a rich patina that adds character over time.
Choosing The Right Brass Mixer
Select the perfect brass mixer by balancing aesthetics with functionality. Consider your kitchen’s overall design and choose a complementary style, be it sleek and modern or traditional. The finish of the brass can vary, too, from bright and polished to a more subdued, brushed look.
Functionality is critical in choosing the right mixer. Look for features that match your daily kitchen activities—do you need a high spout for filling large pots, or would you prefer a pull-out spray for easy cleaning? Also, think about the handle type and water flow efficiency, ensuring ease of use and water conservation.
Planning And Preparation
Before installing a brass mixer, a well-thought-out plan is crucial. This begins with gathering the right tools for the job, such as adjustable wrenches, screwdrivers, and sealant. Make sure you have all the necessary materials, including the brass mixer and any extra fittings.
Measure the distance between the installation holes in your sink and the size of the holes so the new mixer will fit. Check the compatibility of the new mixer with your existing plumbing to avoid any surprises during installation. This preparation streamlines the process and reduces potential issues.
Installation Process
Installing your brass mixer correctly is vital to ensuring its functionality and longevity. Follow these detailed steps for a smooth installation:
Turn Off Water Supply:
Find and shut off the main valve, usually located near the water meter, to stop water flow during installation.
Remove Old Fixtures:
Use a wrench to loosen and detach the old mixer. Be gentle to avoid damaging the sink.
Clean the Area:
Wipe the sink surface to remove any debris or build-up where you’ll install the new mixer.
Position the New Mixer:
Carefully place the new brass mixer in the designated area. Make sure it’s aligned correctly.
Secure the Mixer:
Tighten the mounting nuts under the sink to secure the mixer in place. Avoid over-tightening to prevent damage.
Connect Water Lines:
Attach the water supply lines to the mixer. Double-check the connections for any potential leaks.
Apply Plumber’s Tape:
Use plumber’s tape on the water line connection threads if necessary, ensuring a watertight seal as per the manufacturer’s instructions.
Turn on the Water Supply:
Once everything is connected, turn the water supply back on and check for leaks.
Test the Mixer:
Turn on the mixer to ensure proper water flow and function. Adjust as needed.
Prioritize accuracy and patience during installation. If you encounter any issues or leaks, reevaluate your steps and adjust as needed. Successfully installing your brass mixer will not only enhance your kitchen’s aesthetics but also its functionality.
Maintenance And Care
Maintaining a brass mixer is straightforward but essential. Regular cleaning with a soft cloth and gentle soap, followed by thorough drying, helps maintain its shine and prevent water spots and limescale. It’s important to avoid abrasive cleaners that can scratch or dull the brass surface.
To preserve the unique look of brass, occasional polishing may be required, depending on the desired finish. Less maintenance is needed if you prefer the natural patina that develops over time. However, for those who enjoy the initial shine, periodic polishing will keep the brass looking new.
Tips And Tricks For A Successful Installation
A successful brass mixer installation begins by turning off the main water supply. This step is vital to prevent any water damage during the installation process. It’s also essential to carefully remove the old fixtures, taking care not to damage the sink or surrounding area.
Use plumber’s tape on the threads of the connections for a tight, leak-proof seal. After installation, checking for leaks and addressing them immediately is crucial. Remember, an installation done right not only adds beauty but also ensures long-term functionality and durability.
Consider your skill level and experience with plumbing before undertaking a DIY installation, as some steps might require specialized knowledge or tools. If you encounter obstacles, don’t hesitate to ask for assistance or hire kitchen plumbing services to guarantee a successful brass mixer installation.
Conclusion
Brass mixers are more than just functional items; they are statement pieces that elevate your kitchen’s design. Success in installing a brass mixer relies on careful planning and precise execution. When you’re ready to start this DIY project, apply these tips and seek advice to explore kitchen decor possibilities further.