Adding some DIY projects to the home’s exterior is not a budget-friendly option but will also leverage the beauty of the area. Without a doubt, buying and installing natural stone will not only cost you an arm and a leg but also definitely liven up the space, making it look exquisite and warmer.
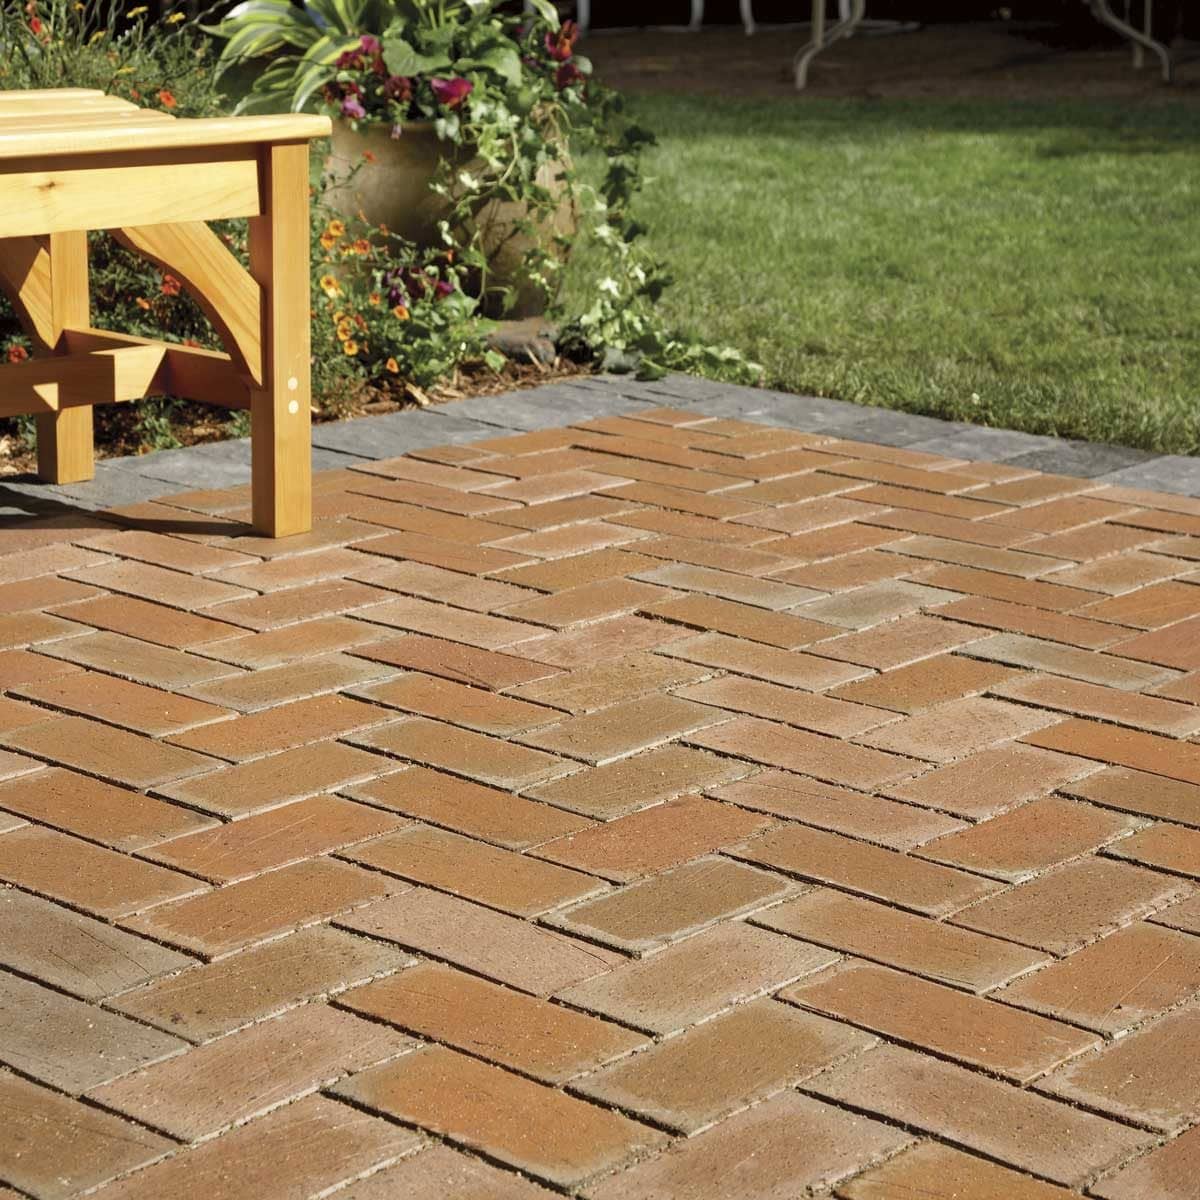
Wait. But why spend so much money when you can paint a concrete patio to look like stone? An immaculate and refined texture paint concrete patio will require a bit of extra time and effort but the end result will always be worth it.
However, both of them could be saved with a step-by-step defined approach. Therefore, to get a perfectly fine finish to paint a concrete patio to look like stone, don’t forget to read the article till the end.
What do you need?
Before beginning the process, it is essential that you must keep all the things handy with you. So you don’t have to rush at the last minute. The list of the material is given below:
1.Vacuum
2.Concrete cleaning solution
3.Concrete primer
4.Chalk
5.Broom
6.Paint in 3-4 colors
7.Painter’s tape
8.Sponges
9.Paint brushes
10.Paint roller
11.Sealer
12.Stencil (optional)
Step-By-Step Process To Paint Concrete Patio To Look Like Stone
Painting a concrete patio is a simple process only if you have the appropriate knowledge. The project can be completed within a few hours and can certainly have a wonderful impact on the overall appearance of the outdoor space. Let’s get into the steps:
#1: What’s the stone color?
The first and foremost step is to decide on the color pallet. Going with the shades of classic and sophisticated vibe? Then gray, tan and white can never be a wrong choice, however, to pop extra shades of colors you can certainly go for brighter shades and make it look more creative and stylish.
Once the color vibe is decided. Always begin with a lighter base coat and then apply the dark colors as they are easy to blend and apply darker color before and then applying lighter shades will never have any impact on a lighter color.
You don’t need the exact same texture for the stones as the stones are multicolored with mottles and flecks on one or two. Add a similar main background to add the shades and start blending them with different colors to achieve the look you desire.
#2: Set up the Ground
The next step after painting all the stones is to prepare the area. Start it by moving all the furniture aside and other large items from the concrete including fixtures, outlet covers, or anything that could act as a hindrance while painting.
#3: Prepare Concrete before the Paint
Cleaning the concrete with a power washer will assist you to paint more swiftly. Sweep and vacuum all the piled-up debris and dirt particles and before beginning the process, mop the floor with soapy water or cleaning solution with ample warm water.
However, if you have already painted the concrete, use a chemical paint stiper to remove and prepare the whole surface again and wait till it is completely dry. Then, use painter’s tape to mask off areas and to create aesthetic designs such as trim or door frames.
#4: Start with Primer
The first step to paint concrete is to apply the primer to secure the durability of the paint. Applying a primer will act as an adhesive to paint, resulting in a shiner and smooth end result.
Use a paint roller or a large brush to get an even and smooth look to the entire concrete surface. Allow it to complete and read the manufacturer’s instructions properly before applying. Application and drying will be subjective to the product.
#5: Hit the Base Color
With a flat brush or a roller, paint the base of the concrete and use the finer brushes to detail the outline or necessary highlighting. Choose lighter first to apply then the solid colors to get a refined look.
And wait till the first coat is completely dried off, before layering it with the second one. User smaller sections of darker shades and blend them well to have more original color.
#6: Design your Stones
Once the base layering is done, use a pencil to draw the shapes and patterns to achieve your dreamy look. You can also use chalk, instead of pencil, however, be a little careful, as it tends to be washed away while painting the concrete.
If you want a free-style design, then definitely go with different stone shapes and sizes. On the contrary, for a uniform look, use the same stone styles, shapes and sizes.
#7: Making Perfect Strokes
To begin with, the painting process uses a smaller round or flat brush (round for detailing and flat for making a smooth surface painting) for the best result.
Keep a damp cloth handy with you, so in case you aren’t satisfied with the design and outlook, you can easily remove it with the cloth while the paint is dry.
Apply darker shades at the edges of faux and blend the shade with swift motions to create a shadowy texture which in turn makes it look more original.
Dab different hues with the help of a sponge and experiment with colors and placements to find what suits best with your place and taste.
#8: Wait Till Dried
Although, with all the prior steps you are done painting your concrete to look like stone. Now, it’s time for you to let it rest in some undisturbed place to dry off completely.
This process could surely take up to some 17 to 24 hours or maybe more, depending upon the weather and the paints you have used. The more humidity in the atmosphere, the more will be the time.
Once it is completely dried off, you can arrange the furniture back to its place and palace your stones in the area to have an eye-catching sight.
#9: Last Step
Do not forget to seal with paint after it dried to protect it from wear and tear and extremities of weather with the help of any nice sealer.
Conclusion:
I hope by following all the steps mentioned above, you must have achieved the desired outcome. Make sure to follow all the steps in the sequence with all the necessary instructions within each point to avoid messing up.