
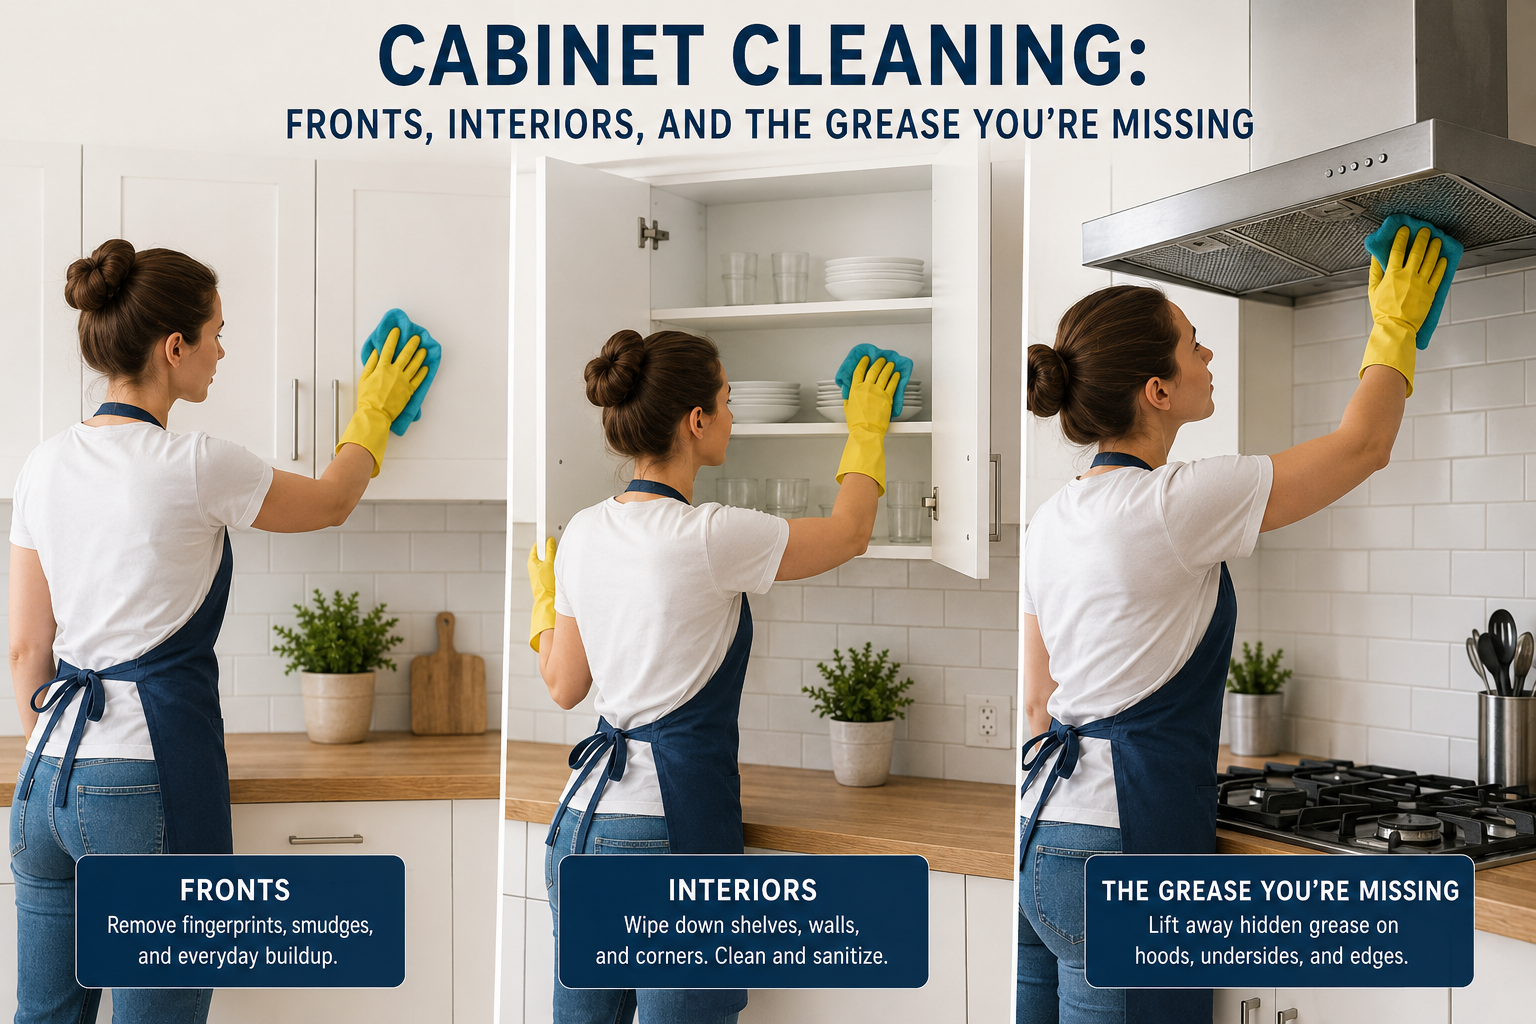
The insides and outsides of the cabinets get touched, splashed, and steamed at all times, but we don’t clean cabinet doors very often. In reality, the dirt is located in edges, handle areas, above the stove, and inside cabinets. Here is a guide on how to clean cabinets properly, without using toxic chemicals and spending hours on it so that your kitchen will look neat and be hygienic.
Why Do Cabinets Get So Dirty?
During the cooking process, oil is sprayed from the pans into the air. This way it gets deposited onto the cabinets and mixes with dust, creating a nasty film. It might not be visible, but you can actually feel it rubbing your finger along the top of a door close to the stove.
Another reason cabinets get dirty is our hands. We use the cabinets constantly, and each time our skin oil and other elements get transferred from our hands to the cabinet doors.
Things to Gather
Not much is required here:
Warm water.
A few drops of dishwashing soap.
White vinegar (if dealing with tough grease buildup on sealed areas).
Baking soda.
Two to three soft microfiber towels.
Soft toothbrush.
Vacuum cleaner with a brush attachment.
Dry towel.
Avoid steel wool and scouring pads, as they will scratch your finish and make your cabinets dirtier.
Step 1: Know What Kind of Cabinet You Are Cleaning First
Before cleaning your cabinets, find out the type of material they are made of.
- Painted and sealed wood: It is safe to use soap and water. Do not soak your cabinet.
- Laminate or Thermofoil: Clean using mild soapy water and dry immediately since excess moisture might peel it off.
- Raw Wood: Use minimal water and use a wet cloth.
In case you are unsure, apply the cleaning solution on an inconspicuous area like inside the door and wait for some time.
Step 2: Cleaning the Cabinet Fronts
Clean from top to bottom to avoid drips falling onto cleaned areas.
- Create a mixture of a little bit of liquid dish detergent with warm water.
- Soak a microfiber cloth and squeeze dry until damp but not soaking.
- Use the cloth to wipe the cabinet front, following the grain of the wood.
- Use another damp cloth to go over the area and remove any soap residue.
- Dry with a towel.
Drying is extremely important and not as obvious as it may seem, since remaining moisture may cause damage to the finish and even warp the wood.
Step 3: Attack Grease in the Problem Spots You Are Not Cleaning
This is where your current cleaning regimen fails you. Grease gets into the following areas:
- The cabinets located above the stove. They have the heaviest concentration of it.
- The top edges and trim. Here, grease combines with dust.
- Areas around handles and knobs. Oils are deposited every day.
- All the grooves and panel edges. All the crevices are filled up with residue.
To dissolve the residue that has adhered to the sealed cabinets, use equal amounts of warm water and white vinegar. Apply it, wait for one minute, and then wipe it away. Avoid leaving vinegar on wood, because it will cause it to lose its luster.
In case of more stubborn areas, prepare a mixture of baking soda and water. Apply the paste to the area with a soft toothbrush, rub it gently in a circular motion, and then wipe away the residues with a moistened cloth.
It is possible to remove the handles and knobs from their place, wash them in soapy warm water, dry and reinstall them. It will take only five minutes and yield good results.
Step 4: Remember the Interior
The interior of cabinets is often overlooked; however, crumbs, spills, and dust accumulate there secretly. Thoroughly emptying all shelves and removing grease stains is more like deep cleaning than ordinary cleaning. Thus, you need more time for this task than the usual weekend one.
- Empty the shelf. Remove all contents from the cabinet. Yes, all of it!
- Vacuum first. With a brush attachment, vacuum crumbs and dust particles, particularly in the corners.
- Clean the surfaces. Dampen cloths in warm, soapy water and wipe all surfaces, such as shelves, walls, and door insides.
- Dry thoroughly. Leave the doors open for some time so that the moisture doesn’t stay inside the cabinet.
- Inspect your belongings. Get rid of expired products and clean jars and bottles prior to storing.
Cleaning cabinets separately will make the process less stressful. Start with two cabinets per day during the week.
To prevent stains, place washable or removable liners on shelves.
Step 5: Complete with a Quick Polish
Once everything is dry, wipe down the doors with a clean and dry microfiber cloth. It will help get rid of the streaks and will add a little bit of sheen. Be careful not to use anything too oily as it can create a layer that attracts even more dirt.
How Often Should You Clean Your Cabinets?
Just stick to a straightforward plan:
Weekly: Wipe the handles and the visible splashes.
Monthly: Wipe the cabinet fronts, particularly those near the stove.
Three to four times per year: Clean the inside and do a complete greasy cleanup.
If you cook regularly and fry your food, the cabinets near the stove require more frequent cleaning.
The weekly and monthly tasks are easy to add to your usual routine. To see how cabinets fit in with counters, appliances, and floors, use this kitchen cleaning checklist and tick them off along with everything else.
Mistakes to Avoid
Using too much water: It will soak into joints and ruin the finish.
- Using too much force while scrubbing: It may wear away paint or other protective layers.
- Forgetting to rinse: Soap film attracts dirt.
- Combining cleaners: You should never combine vinegar and bleach or any other chemicals used for cleaning.
- Neglecting the tops: They will be covered with dust or grease that will become sticky or fall down later.
Conclusion
Clean cabinets will create a fresh atmosphere in your kitchen even if no other changes were made. Always be delicate, limit use of moisture and pay special attention to the areas where grease gathers. It will help you cope with cleaning much easier.
Begin with cleaning the cabinet over the stove. It is the dirtiest one and completion of this job will motivate you to continue further.

